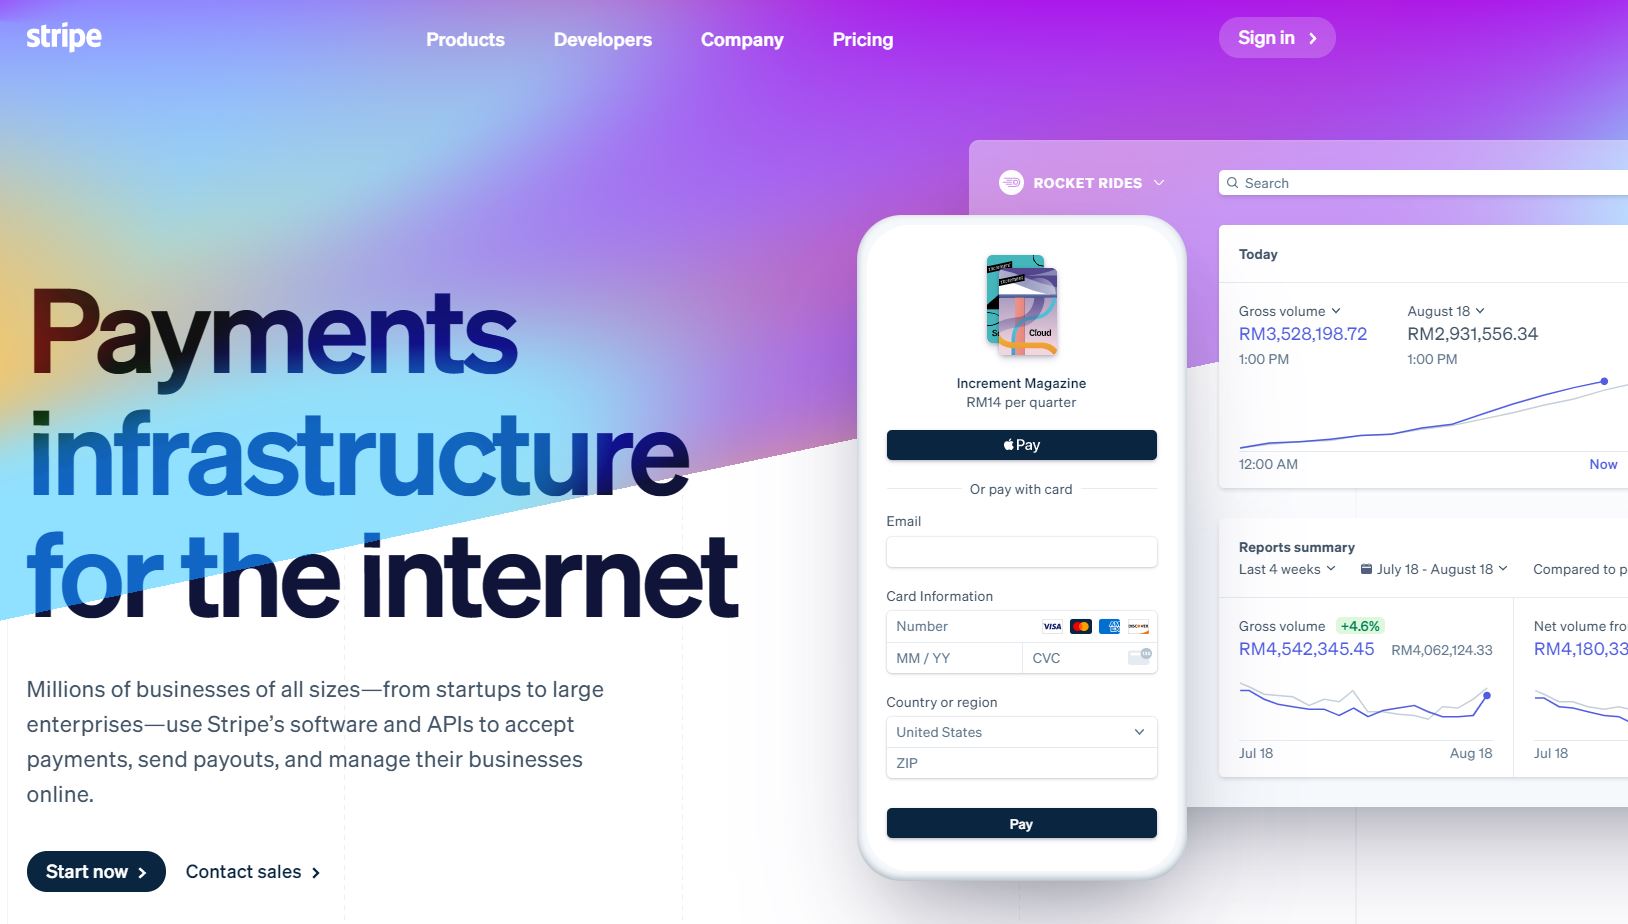
Stripe recently entered the Malaysian payment gateway market in October 2019 and is already gaining ground with ecommerce platforms and local businesses. A Stripe account setup is simple and fast.
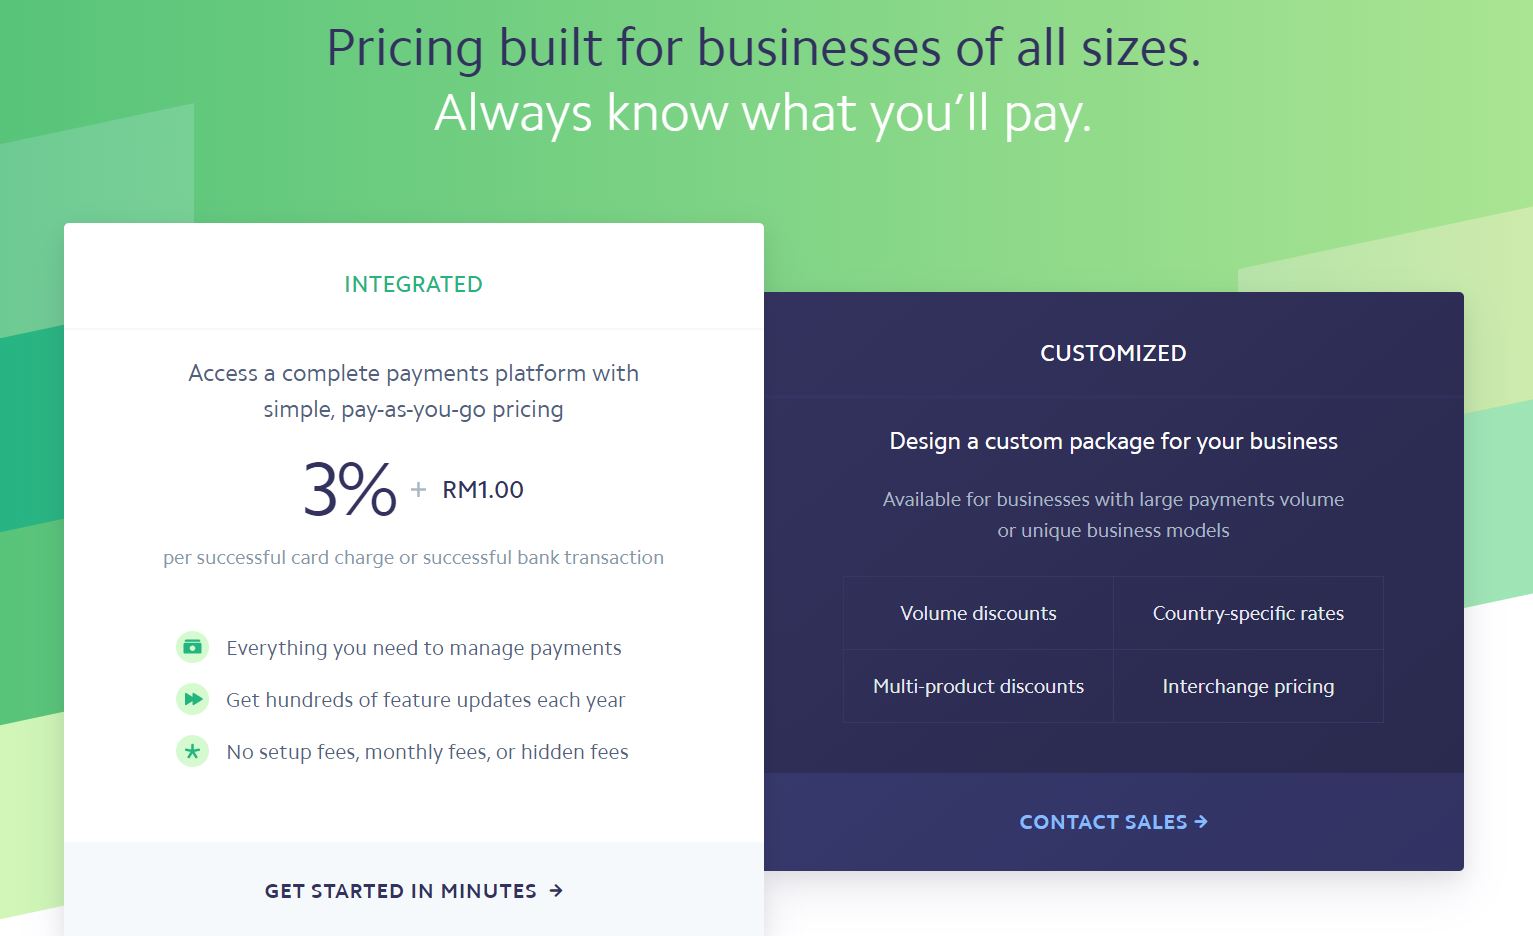
Their pricing rates are definitely more competitive than what PayPal is charging. Check out what other Malaysian payment gateways are charging.
However, most businesses may have heard of PayPal but when you mention Stripe, they tend to be a bit clueless.
That’s because Stripe Malaysia became available in late 2019 as previously Stripe was not available in Malaysia.
Fret not, for businesses who are currently on PayPal or who are new and would like to sign up for a Stripe merchant account, the process is simple and straightforward.
I’ll walk you through the Stripe Account Setup process :
Go to https://stripe.com/en-my/pricing and click on Get Started In Minutes.
Sign up by providing the email address that will be receiving customer orders and billing.
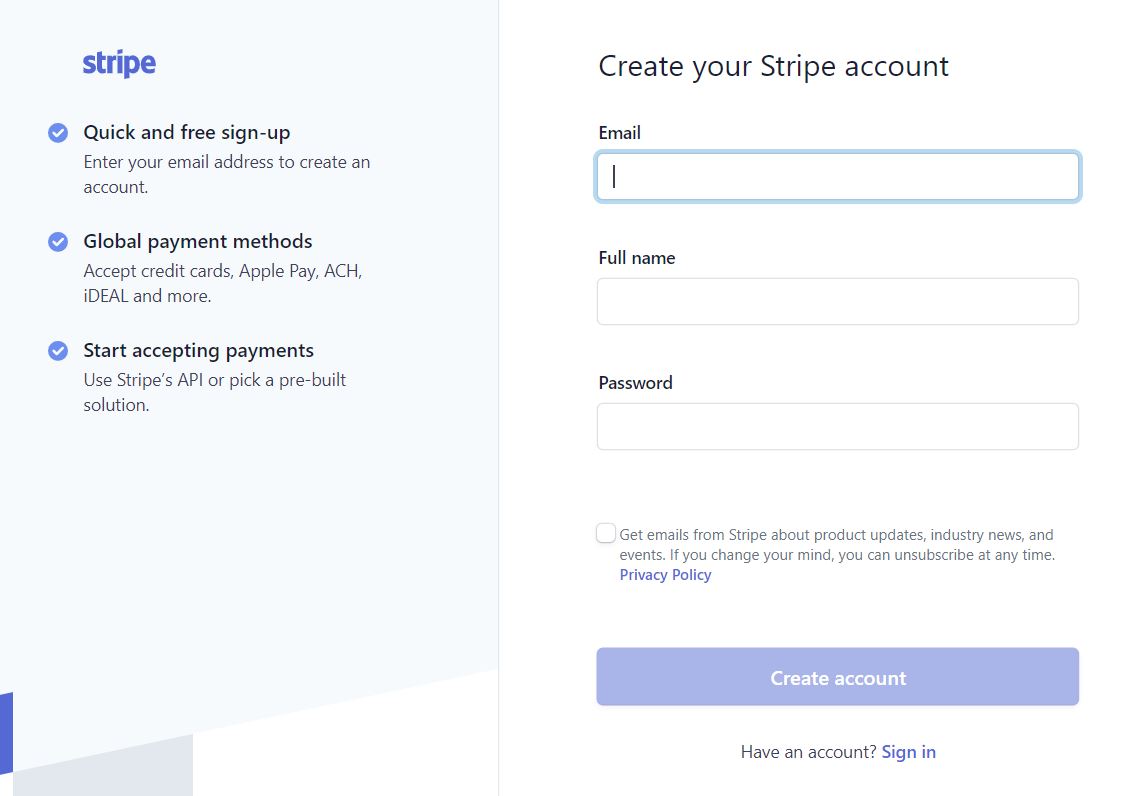
Once done, you’ll land in the Dashboard. Click Verify your email.

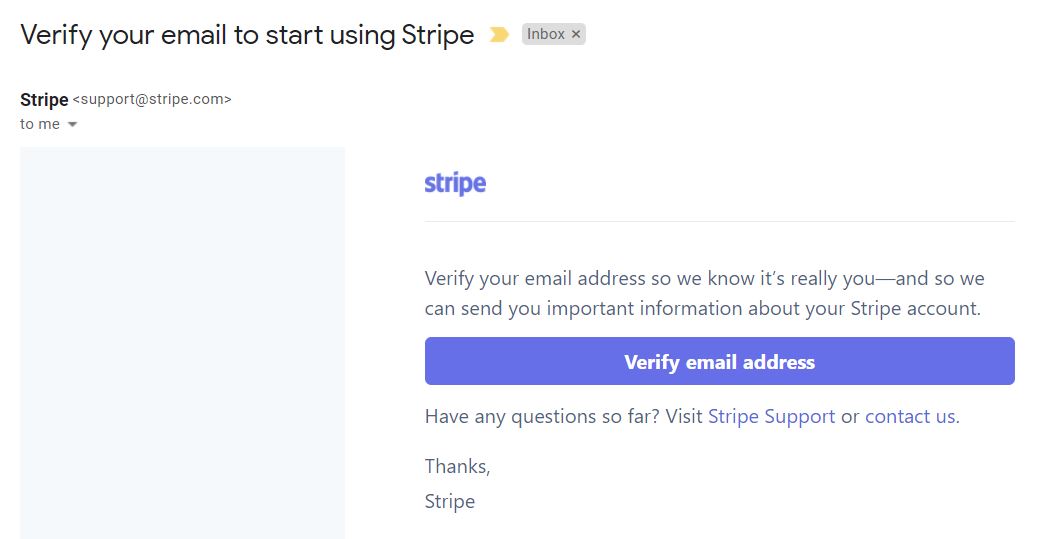
You’ll receive a verification email. Click Verify email address that was sent to your registered email address :
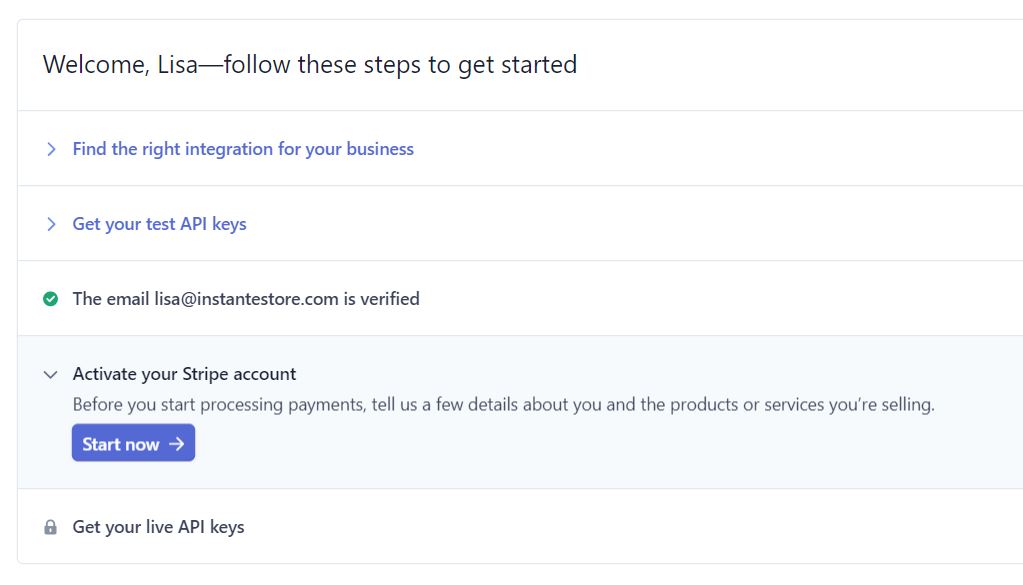
After verifying your email, click Activate Stripe account on the Dashboard > Start now
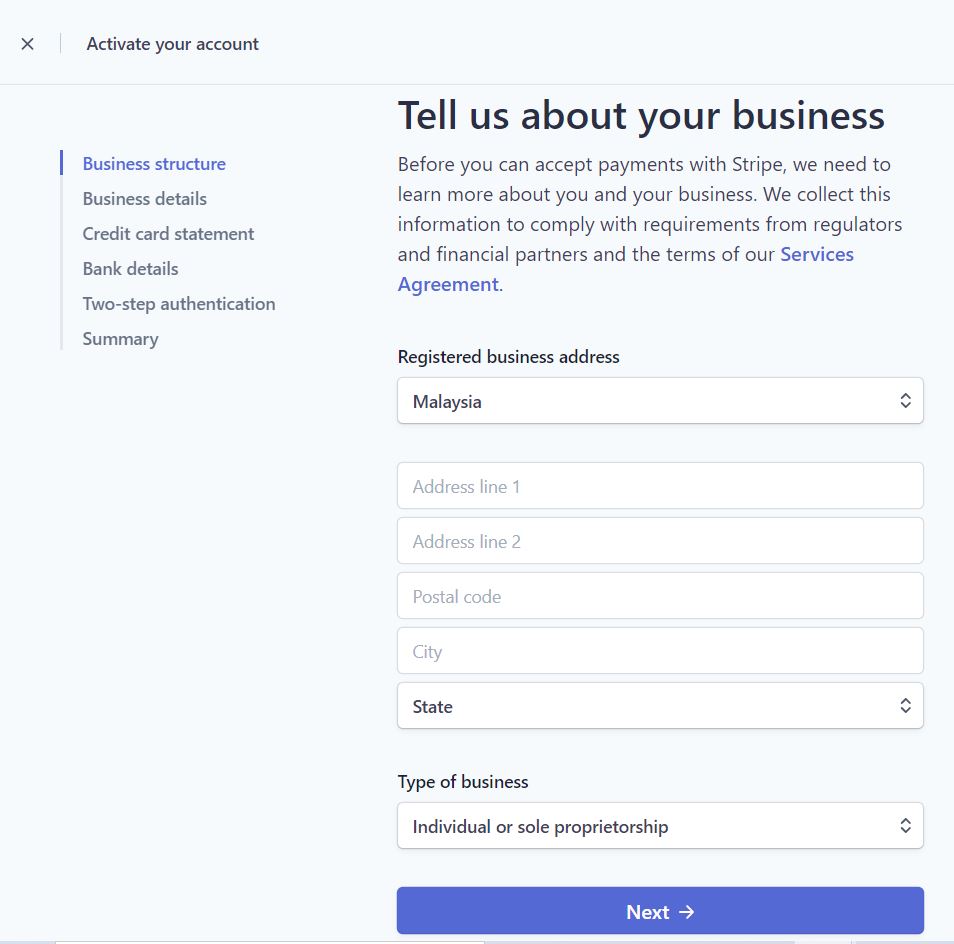
Fill up your company address and business details
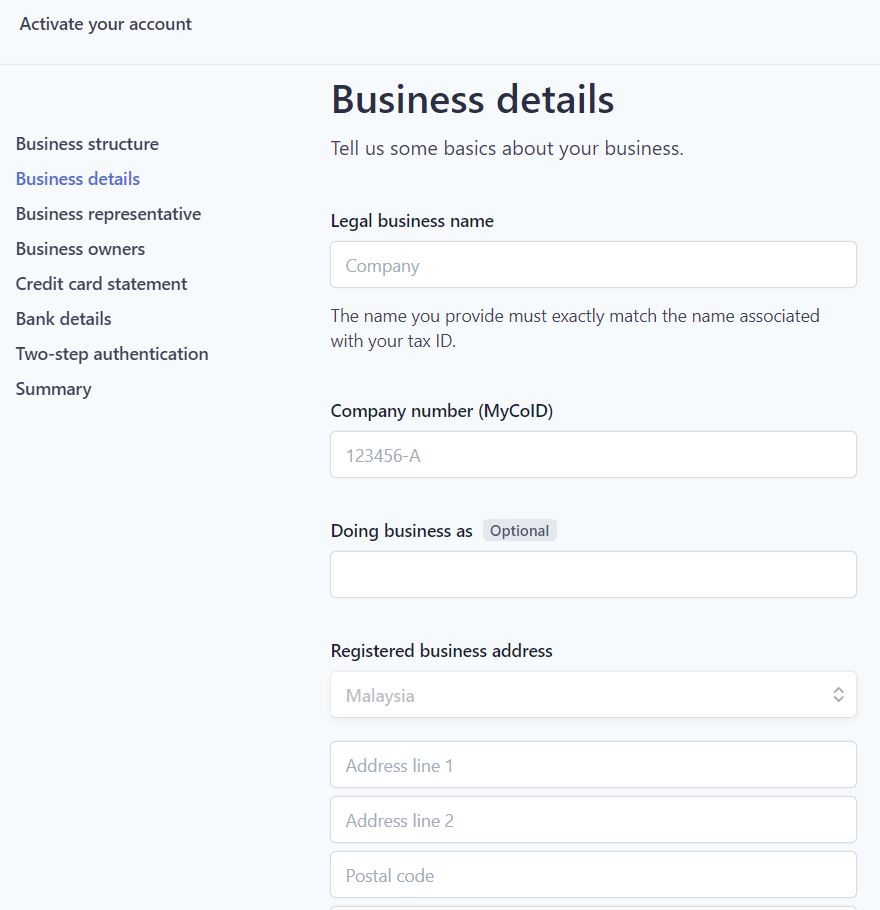
You’ll be required to fill up Business Owners’ details as well (anyone with 25% ownership of the company)
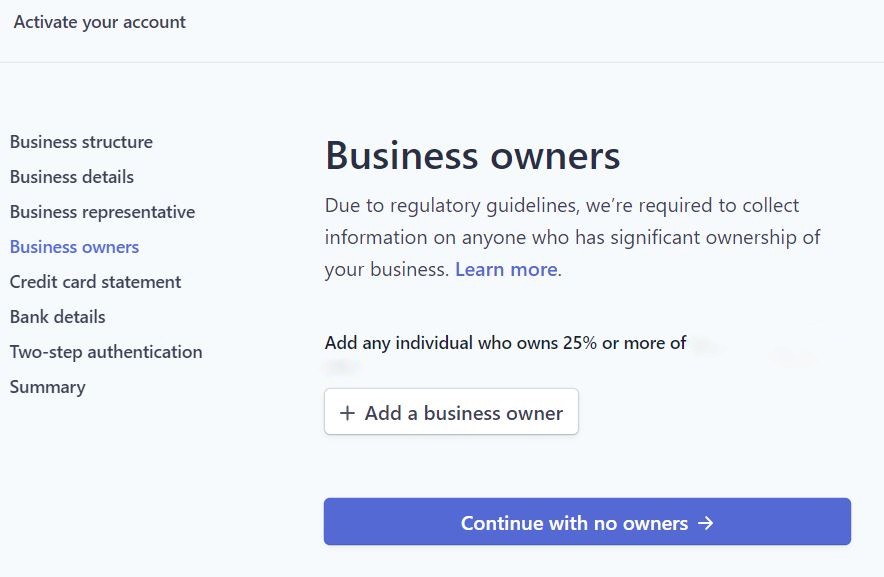
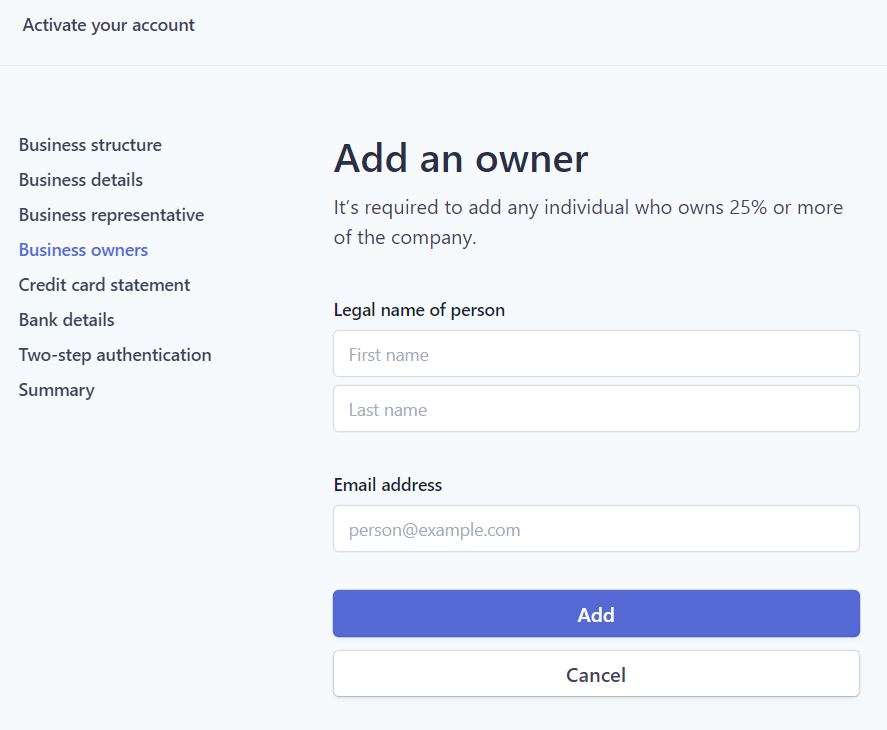
Please add in their name and email address
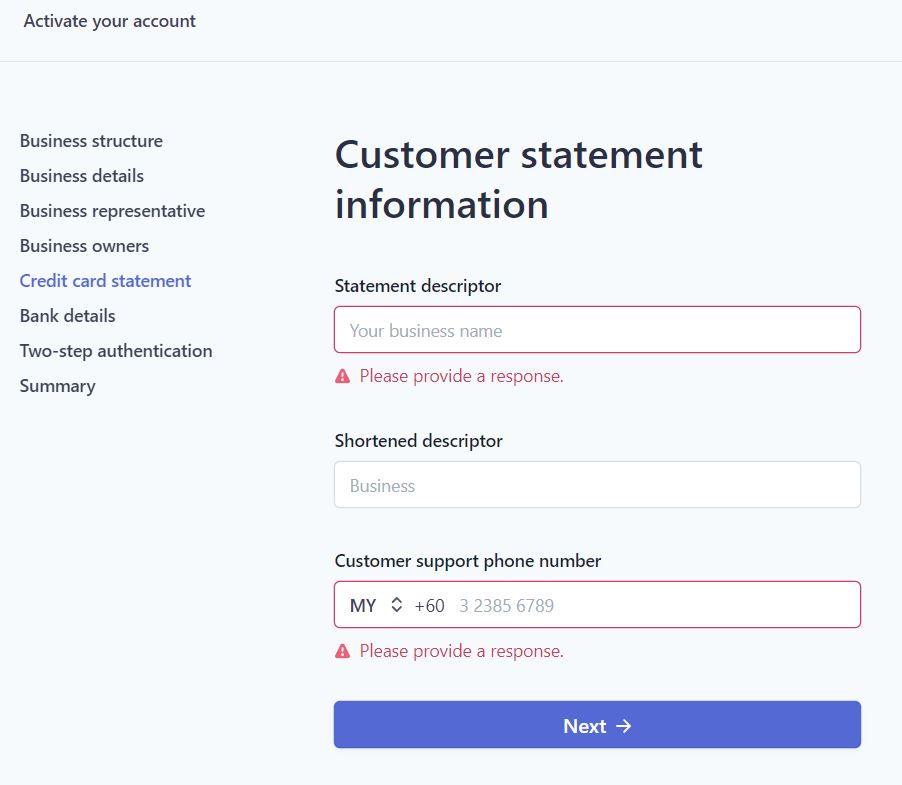
After that, add in Customer Statement Information :
Statement descriptor : [name of your company]
Shortened descriptor : leave it as Business for now
Customer support phone number : [company phone number]
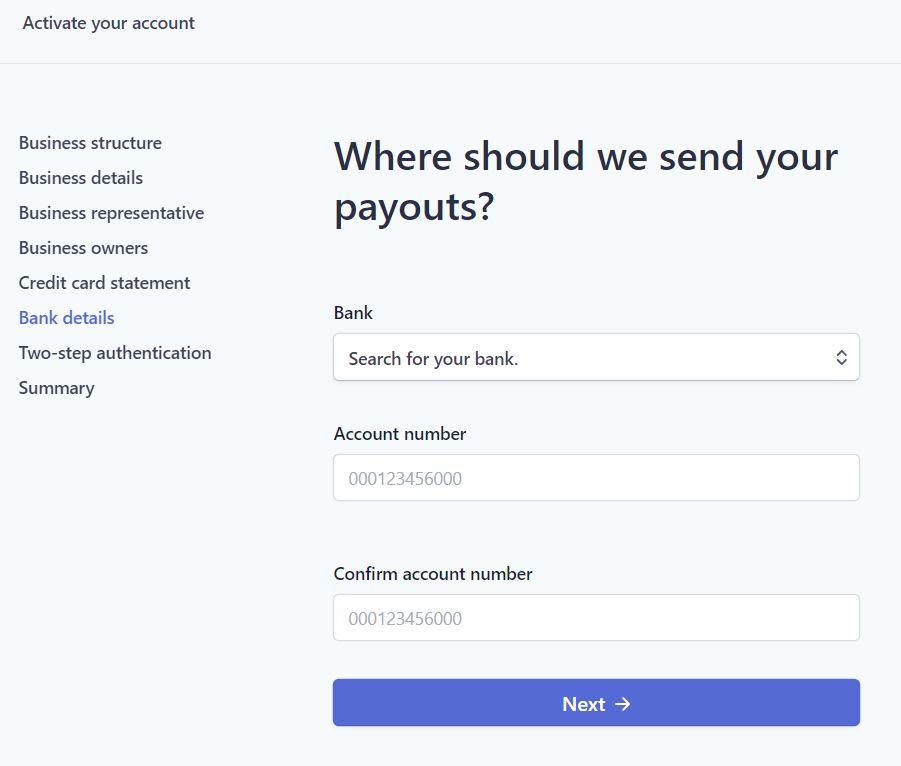
Next, key in your Bank details – Bank Name, Bank Account Number (without the -)
Two Step Authentication – choose either SMS or App Authenticator
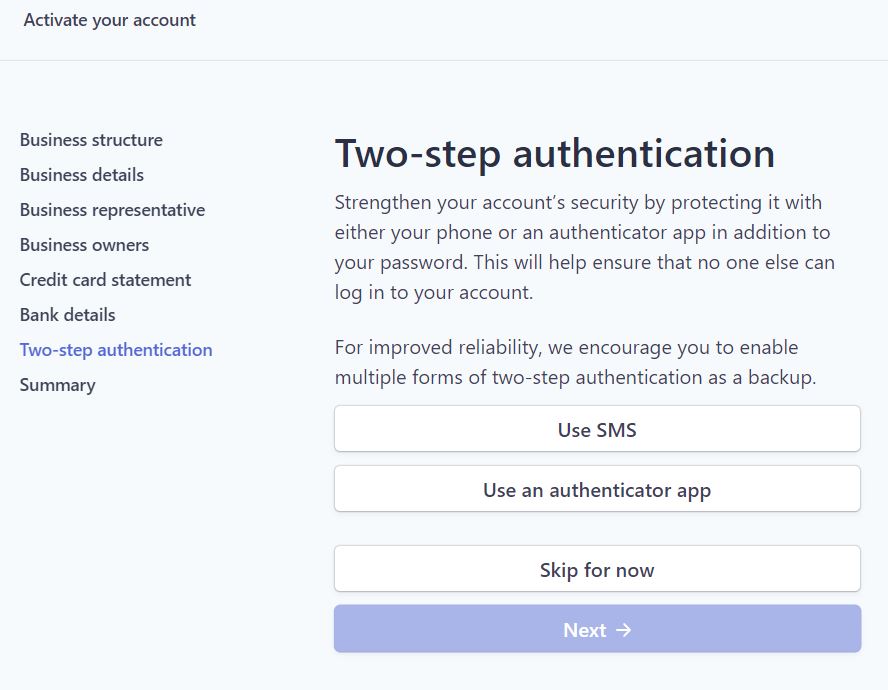
The final step would be Verification Summary which please ensure all details are correct before you click Submit.
Once you’ve completed all these steps, you will need to link your Stripe account to your ecommerce site.
Make sure your ecommerce provider is already integrated with Stripe.
Don’t worry, it’s quite simple as well.
Here’s a look at what’s required by InstanteStore :

In your Stripe Dashboard, just click on API keys.
You’ll need to look for the Publishable Key and copy the entire string of code to paste to the Publishable Key field.
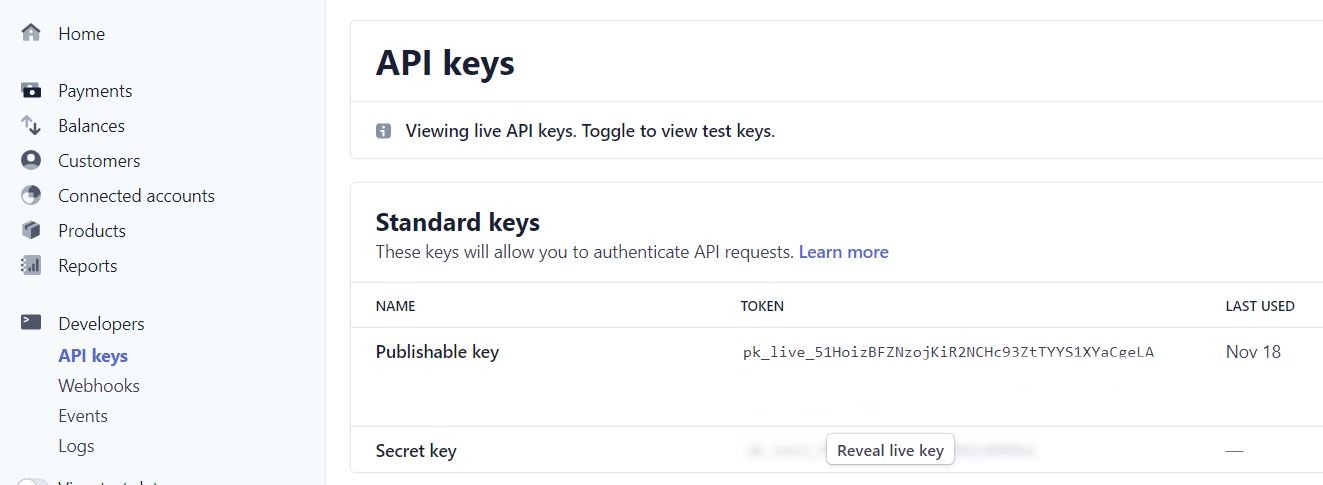
Next, you’ll need the Secret Key.
Click the Reveal live key button. Stripe will prompt you.
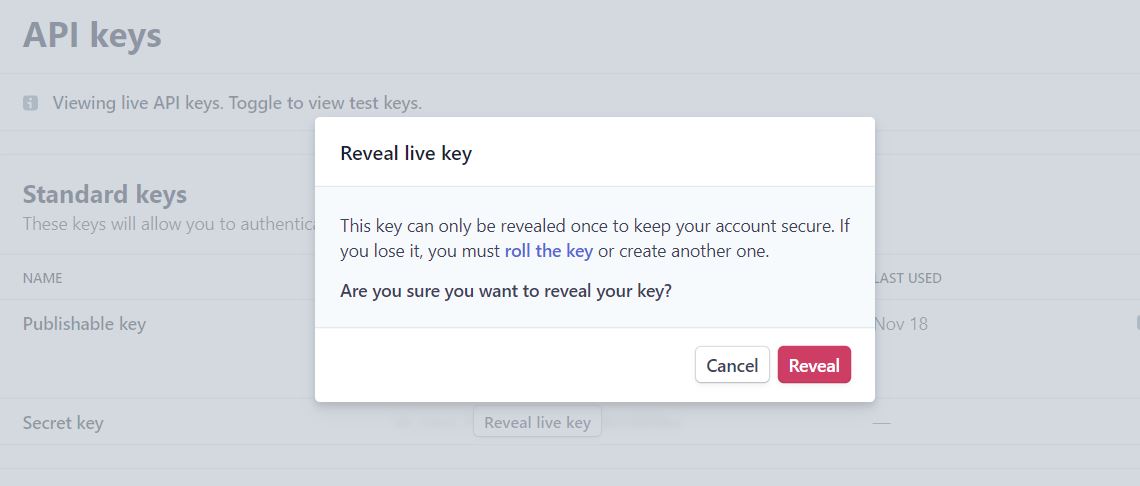
Click the Reveal button and copy the Secret Key to paste to the Secret Key field.
Make sure you set it to Live / Production Mode and click Save Settings in InstanteStore.
Remember to Publish your store to make the changes effective.
That’s it! Your Stripe account has been set up and linked to your ecommerce store.
Simple right?
To test out your Stripe account, just create a RM1 or $1 test product and make a purchase with your credit card.
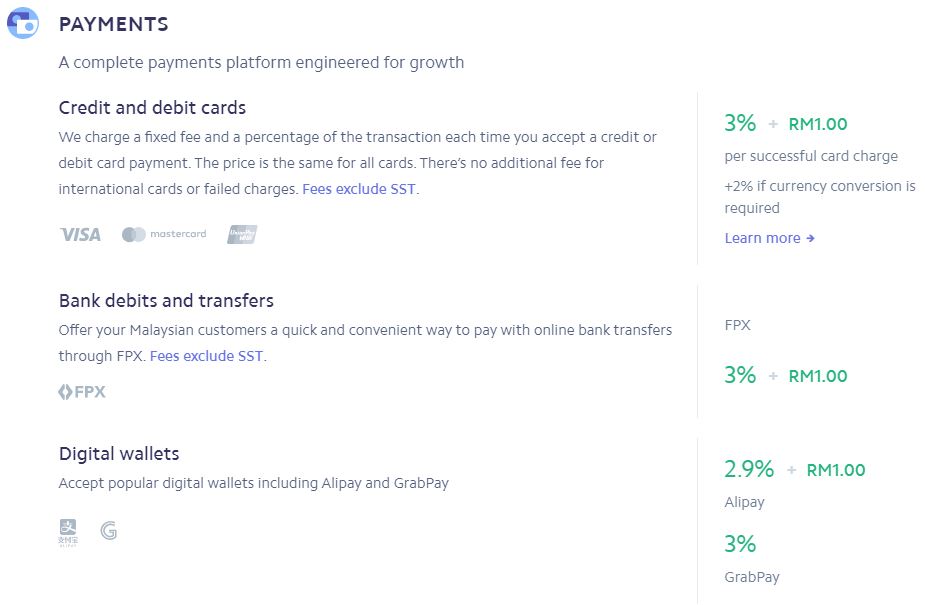
You can login to your Stripe account to refund your credit card but please note that Stripe would have charged a transaction fee of 3% + RM1 per transaction.
Bear in mind that this is just the basic Stripe account setup and linking to your ecommerce store.
How to TURN ON FPX, GrabPay, AliPay in Stripe
Please note that when you first register for a Stripe account, it does not automatically have FPX (online banking), GrabPay and AliPay turned on.
You will need to turn it on yourself but it’s super easy.
Just login to your Stripe dashboard :
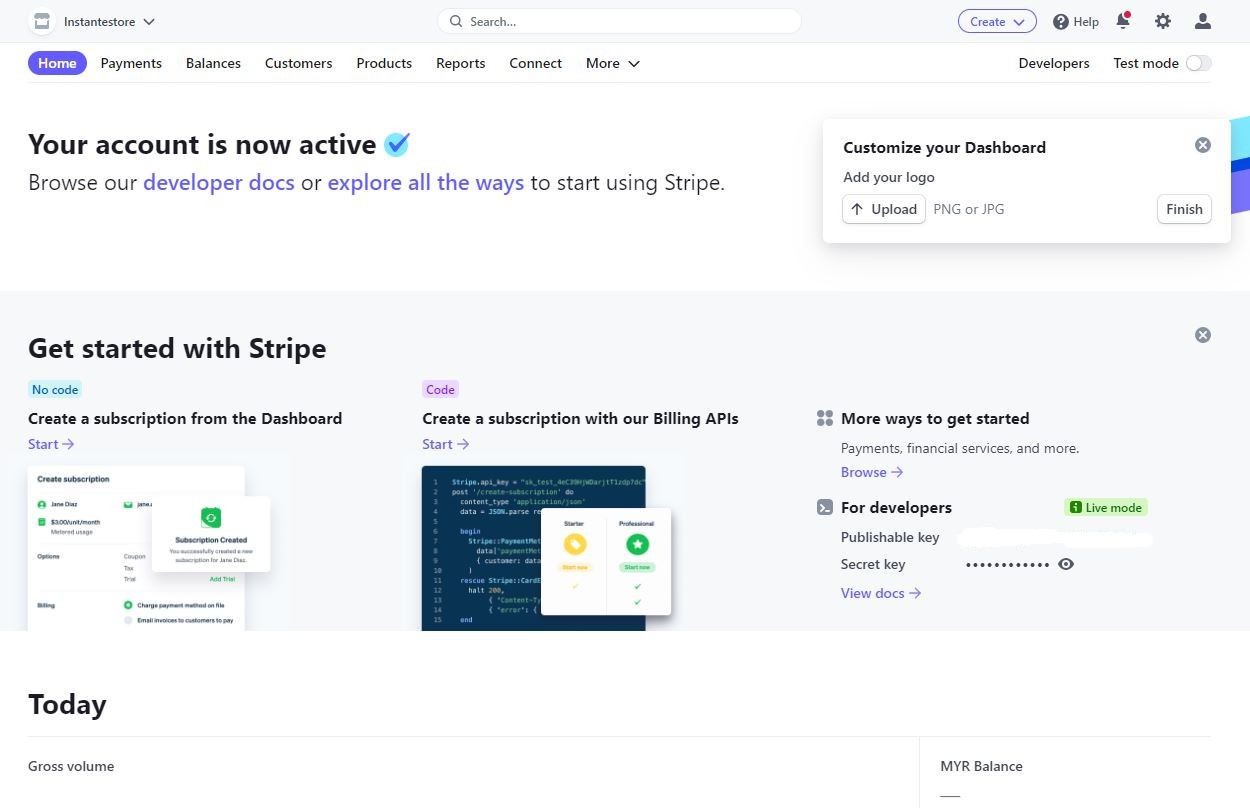
On the top right hand corner click on the Settings or gear icon.
You’ll then come to this page :

Under Payments, click on Payment methods and you’ll come to this page :
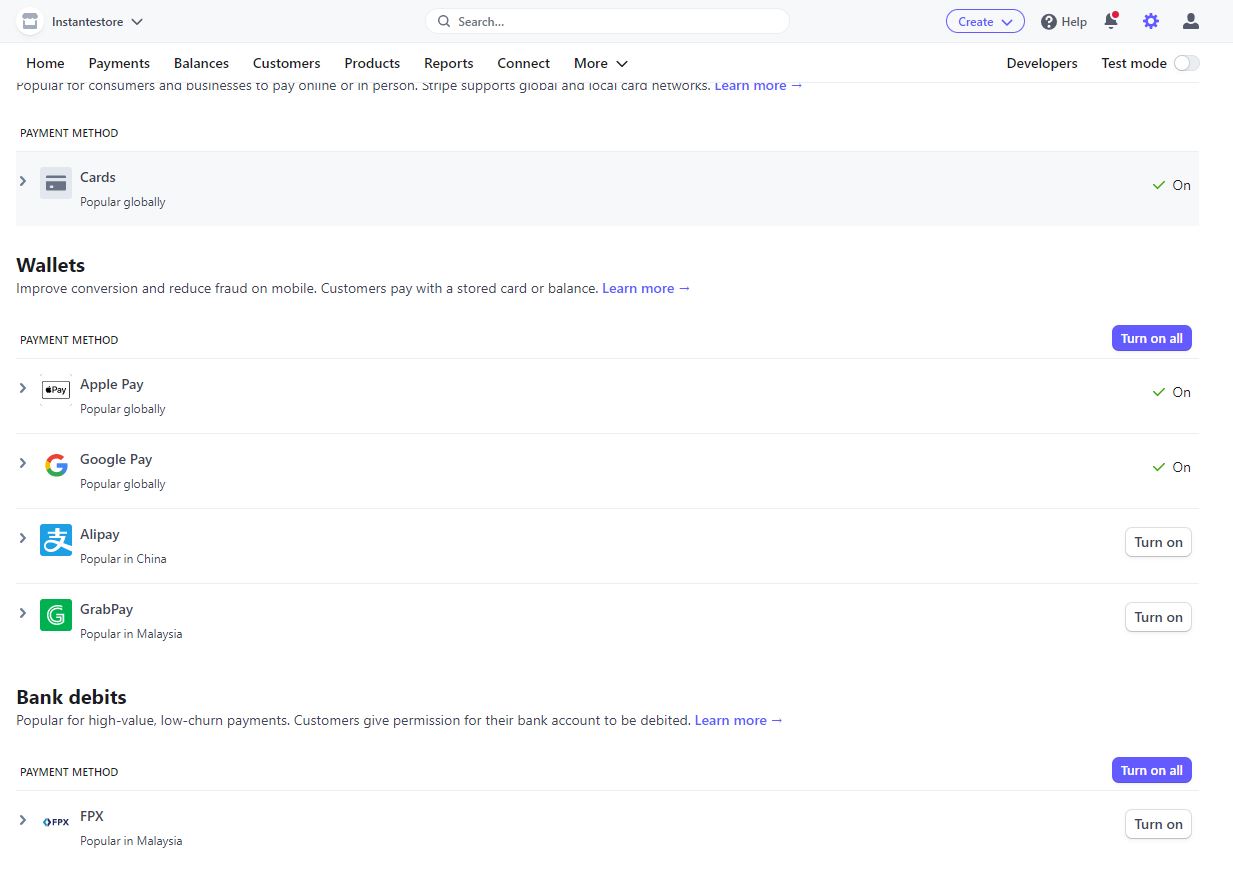
Just click Turn On for FPX, GrabPay or AliPay but please remember the transaction fees that Stripe will charge for these payment methods :
That’s it!
Hope this helps.

